Thursday, January 15, 2015
Thursday, January 8, 2015
Elvis Birthday Proclamation Ceremony
HAPPY BIRTHDAY ELVIS... ALWAYS AND FOREVER THE KING... U ROCK... GOD BLESS...
Tuesday, January 6, 2015
How To Recover Deleted Files From Your Android Phone

It has happened to all of us – at one point or other we all wanted to go back in time and change something. As most pop songs will make you believe “you can’t turn back time”, but when it comes to technology nothing is ever completely impossible.
If you’ve ever had a fight with a loved one, you may remember the urge that suddenly takes over and tells you to delete everything connected with that person: photos, videos, chat history.. And if you are reckless enough to act upon that feeling, you will probably regret it in a few minutes.
Or it does not have to be that dramatic – you can simply delete a nice photo or a fun video by accident, by pressing the wrong button at the wrong time or letting your phone toss in your handbag without blocking your keyboard.
Whatever the reasons might be, once you realize that something important is deleted – you will start desperately wanting it back.
So what do you do? Do not panic just yet! There may be a way to get those precious files back. But first, make sure that you:
- don’t save anything else onto your device before the recovery (or this information may be written over your deleted files)
- stay away from any updates (by turning off your Wi-Fi and other connections)
Now let’s get down to the recovery process. There are two approaches here and which one you choose depends on whether your device is rooted or not.
If your device is not rooted, the easiest way to recover data from your phone is by running a specialized programme on your PC. You will need to start by downloading this programme first and you will find a number of options available (like Android Data Recovery, Recuva, Coolmaster and others). Once you have the software installed, you will need to connect your phone to your PC via a USB cable or insert your phone’s SD card into the card reader on your PC.
With most of these programs you will have to specify the type of files you want to recover (jpg,. txt., mp3, etc). You will also be presented with folders from which data can be recovered. Follow the instructions and once you succeed in recovering the lost files, make sure to save them on your PC first and only then go on to transfer them to your Android device to avoid any complications, that may occur if you try to restore the files to their previous location.
If your device is rooted, the process will be a bit easier and you will not have to involve your PC. You will need to install an app like DiskDigger or Undelete on your rooted device,. These applications are made exactly the purpose of restoring deleted files and will do most of the work. So from here on now, the procedure gets pretty straightforward:
You will need to choose the location (phone memory or SD card) from which you hope to retrieve the files.
The application will them scan your chosen location for any information that can be retrieved.
Once the scan is complete, the app will show you the data that can be recovered in different folders: Music, Video, Pictures, Files, etc.)
You can then check the folders for the needed files and pick the ones you want restored.
Once you select the files to be retrieved they will be reappear in their previous location.
Ta-da! You have now achieved the impossible: you have traveled back in time and undone a mistake you’ve made. Now, if only life were that easy…
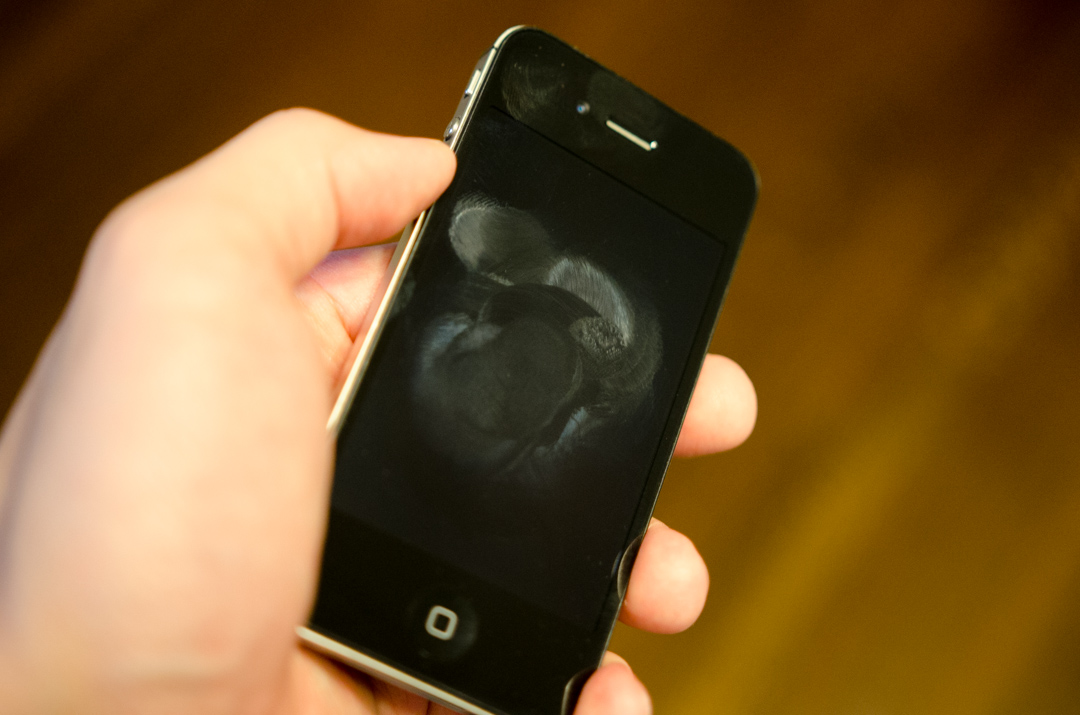
Quick And Easy Guide For Cleaning Your Smartphone

Your phone may look all squeaky clean and shiny to the naked eye, but you may be surprised (or rather disgusted) to learn that these small gadgets have been proven to shelter more bacteria than doorknobs, keyboards and – oh, the horror – toilet seats. However, you do not hold up a toilet seat to your ear or talk into it – that makes your mobile phone a powerful carrying case for seasonal flu and other infections.
Thus, giving your phone a regular cleaning is not only an aesthetic thing but a necessary hygienic precaution.
When it comes to cleaning any electronic gadgets, the keyword of the whole procedure should be – gentle. Your movements must be soft, careful and light – that is why it’s not recommended to indulge in the relaxing process of phone cleaning if you are running late or are not in a good mood. Other than that, the process is pretty much straightforward. All you need are the proper tools and the knowledge of the basic do’s and don’ts.
Here’s how you do it:
Let’s start with the screen and cover the don’ts first.
Don’t: It may be a natural instinct to use window-cleaning products on your screen (glass is glass, after all). But this is a very bad idea. Windex and other popular household chemicals contain ammonia – which may significantly damage your screen overtime. Additionally, some touchscreens (like that of iPhone, for instance) are covered with a special coating, that would be destroyed if a heavy chemical is applied.
Do: Use a special cleaner meant for electronics. If you a DIY kind of guy or girl you can prepare a solution of 60 percent water and 40 percent isopropyl alcohol.
Don’t: Never use any paper materials – towels, Kleenex, tissues – to clean our screen. Rough fibers can scratch the display.
Do: Use a microfiber cloth (the one that usually comes together with eyeglasses).
Don’t: Never spray the solution directly onto the screen. ip the microfiber cloth into the cleaning mixture and gently wipe down the screen.
Do: Instead, dip the microfiber cloth into the cleaning mixture and gently wipe down the screen.
Once your touchscreen is wiped clean, let’s get down to harder-to-reach areas, like earphone and charging slots. These crevices can easily gather dust, crumbs and other dirt.
- Use a Q-tip, dipped in the same solution, to gently clean the slots.
- Another way to do it is to get your hand on a can of compressed air and “air out” the areas in question.
For a more high-tech approach to cleaning, you could try a professional phone sanitizer, that uses UV light to get rid of all the hidden bacteria.
Using Airplane Mode: In the Air And On Land

We all know that our phones have airplane mode and we also know that quite logically, we should be using that mode when on board the plane. But what is it exactly that the airplane mode does and are there any alternative uses of this feature? That’s what we are here to find out.
In The Air
So what does enabling airplane mode actually change in your phone? First, it disables your cellular connection, meaning your phone will no longer be searching for connections with cell towers.
First, it disables your cellular connection, meaning your phone will no longer be searching for connections with cell towers.
By toggling on airplane mode you will also automatically disable Bluetooth and Wi-Fi. But the latter can be turned back on manually – as these days most airlines offer paid Internet on board the plane.
The question of whether it is really that necessary to switch to airplane mode or turn off your phones during take-off or landing has been brought up numerous times. The idea behind the ban is that whenever turned on, your phone will be trying to establish a connection with a cell tower, even when it means boosting the signal (as will be the case high up in the sky) and all this data transmission may get in the way of airplane’s navigation equipment. Surely, this does not mean that a turned on cell phone will cause a crash – but to stay on the safe side, airlines have always been careful about all sorts of interferences – and you can’t really blame them. On your side, having your phone turned on and in constant search of signal will eat away at you battery in vain – so you’re not missing out on anything.
On Land
One of the most popular alternative uses of airplane mode is battery saving. True, you will not be able to receive or make calls or send text messages – but if you are in an emergency and really need to make that battery last – a quick tap on the airplane mode will conserve your juices till you get your hands on the charger. Keeping your phone in airplane mode during charging itself will also speed up the process. So if you don’t have that much time left – you might choose to keep “flying” to get as much power as you can.
Personally, I found airplane mode a quick fix at a meeting, negotiation, discussion – or any situation that demands your undivided attention. This means you will get rid of all the ringing and buzzing with one simple move and will be able to concentrate.
On the same note, there may be times during the day when you just want to “disappear” – it may be an urgent work project, a trip to the spa or some quiet time with a book. Whatever it is – you deserve peace when you need it.
If you seem to have too many distractions coming from your phone – a quick switch to airplane mode can keep all of them out of the way with your phone still being on, and the ability to go back to the world whenever you want to.
When traveling internationally, and if you have roaming enabled, having your phone switched on can get expensive. Even if you do not initiate any calls yourself – people may be calling you, leaving voice messages and sending texts, completely unaware of the humongous bills you’ll have to face when you get back.
With all of the uses that airplane mode may have on land, it’s important to remember that it will prevent people from being able to reach you (even in the event of an emergency) – so use it wisely.
How To Print From Your Android Phone

True. The world is moving away from paper printing, as we have more and more portable devices. And in many ways, your Android phone is a perfect replacement for a printer, as you can store and take your documents anywhere you want.
However, it may take another century or so to get rid of red tape completely, and from time to time, as much as we may despise the idea – we will have to print.
But enough with the drama. If you feel like printing from your Android phone, here’s how you do it.
First, you’ll need to get connected to Google Cloud Print, a service that allows you to print over the web from any device, be it your Android phone or tablet. To start with, let’s tend to your printer. Connect it to your computer and activate Cloud Print support in Chrome – this way you will be syncing your printer with your Google account.
Next, move on to your phone and install Google Cloud Print app.
Now let’s go through the printing process step by step. Select a document you want to bring onto paper, tap the Share button and select Cloud Print app to share the document with. The? you should be able to see your printer and get down to the process. Do note that you will need to be using the same Google account on your phone and printer.
Using a cloud service for printing is quite convenient as you will be able to send documents to your home or office printer from anywhere and even share your printer with others, so that they can do the same – great way to save time (and spend fewer hours at the office).
But printing does not necessarily mean paper. I often us ethe print feature on my laptop to convert a document into PDF. However, and quite unfortunately, our phones do not have a Print button – and thus – no Print To PDF function.
But not all is lost. You can follow pretty much the same steps with a Share button, but you will need to pre-install an app that can convert your files to PDFs.
One way to do that (and if you want to quickly PDF a web page) is to use the ever-handy Cloud Print app that you have already installed. Another great feature of the app, is that once you enable it, your Google Chrome browser (if you do not have one on your phone, you will need to install it) will also have printing functions. So all you’ll have to do is open up a web page in the browser, select Print – and the page will be saved as PDF onto your phone’s Downloads folder, probably under the name “ChromeSnapshots”.
One way to do that (and if you want to quickly PDF a web page) is to use the ever-handy Cloud Print app that you have already installed. Another great feature of the app, is that once you enable it, your Google Chrome browser (if you do not have one on your phone, you will need to install it) will also have printing functions. So all you’ll have to do is open up a web page in the browser, select Print – and the page will be saved as PDF onto your phone’s Downloads folder, probably under the name “ChromeSnapshots”.
Another way to PDF things is to use the Share button. Share the document with Cloud Print app and save the file to Google Drive. It will then appear in your Google Drive storage as a PDF document – ready for you to access and use anytime you want.
If you are looking to convert more different formats into PDF, you can also look into downloading a specialized app, like Word To PDF for Android. The application handles .doc, .docx, .odt, .ott and .rtf and will do the job quickly with a simple click.
So here it is! Printing has never been so easy – no additional cable mess, driver installation or any fuss of that kind. But as easy as printing has become – do take a minute before tapping “Print” and think if you could just go digital and save a few trees.
Subscribe to:
Comments (Atom)
